
Deploy Your First Serverless Function Using JavaScript
The JavaScript powering front ends enables us to add back-end logic with serverless functions. In this tutorial, Deploy your first serverless function. It is a powerful solution for adding additional functionality to Jamstack sites. We’ll go through some to create and deploy the first serverless function using Netlify Functions.
Write the first serverless function
Writing the serverless function will be your First step.
- Create a folder called functions in an empty folder.
- With the following code make a new file called my-first-function.js inside:
exports.handler = async () => ({
statusCode: 200,
body: ‘boop’,
});
That’s it – You have just written your first serverless function. The next section is about getting the function online.
Requirements of a serverless function:
The three required components are as follows:
- The file needs to export a function named handler — this is what exports.handler is doing on line 1 above.
- The function needs to return an object with a statusCode matching a valid HTTP response code.
- The response object also needs to include a body value, which is plain text by default.
Configuring your project for deployment with Netlify
We need only two lines of configuration which are needed to save in netlify.toml at the root of the folder with Netlify Functions.
[build]
functions = “functions”
It describes Netlify and that our functions live in the folder.
You need to Create the repo and push it to GitHub
Now here you are ready to get this function on the internet!
- Create a new repo on GitHub, then
- Add and push our code to it:
# add your new repo as an origin
# IMPORTANT: make sure to use your own username/repo name!
git remote add origin git@github.com:yourusername/yourreponame.git
# add all the files
git add -A
# commit the files
git commit -m ‘my first serverless function’
# push the changes to GitHub
git push -u origin master
IMPORTANT: When you add the origin above, it is important to use your own username and repo name.
Creating a new Netlify site
You can create your site with the Netlify dashboard or through the CLI. As the CLI is powerful and convenient, use that for this site.
# install the Netlify CLI globally
npm install –global netlify-cli
# log into your Netlify account
netlify login
# initialize a new site
netlify init
The command mentioned above will set up a new Netlify site in your account connected to the GitHub repo which has just been created.
There will be several questions:
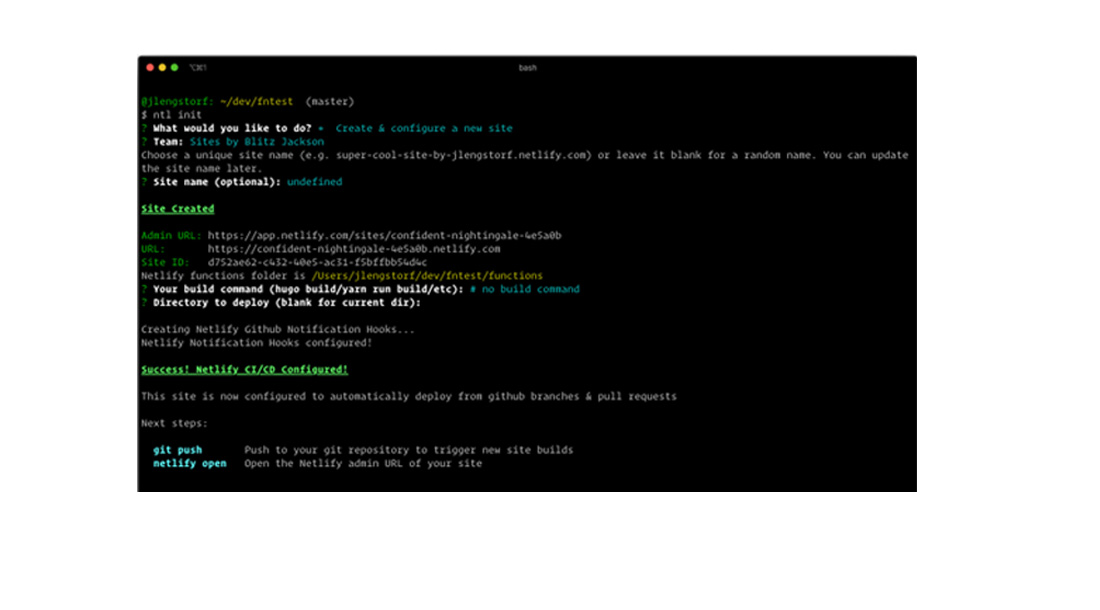
The init command of Netlify guides us through taking a new site live.
We can get the URL from the terminal output once the site has been created. The created site name in the above snapshot was:
https://confident-nightingale-4e5a0b.netlify.com/
Netlify functions are often located at the URL endpoint /.netlify/functions/function-name> to reduce the likelihood of the route conflicting with other routes on your site. Because our function file is called my-first-function.js, you can find it on the web at https://confident-nightingale-4e5a0b.netlify.com/.netlify/functions/my-first-function.
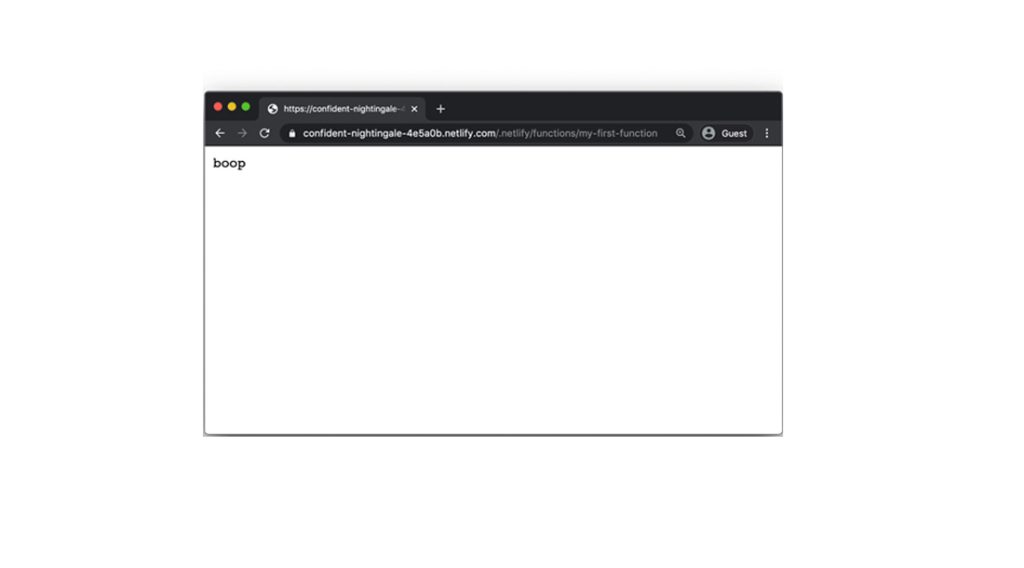
The browser shows “boop” returned from our serverless function. That’s it! You’ve successfully deployed your first serverless function.
Final Thoughts
This tutorial taught you the fundamentals of creating and delivering serverless functions using Netlify. You now have all of the building elements to create whatever you can think of utilizing serverless functions.